Deploying LibKey Nomad to Microsoft Edge via Group Policy only requires a few setup steps:
TABLE OF CONTENTS
- Step 1: Download and Install the Microsoft Edge Policy Templates
- Step 2: Configure Microsoft Edge in Group Policy Editor
- Step 3: Setup Your LibraryID in the System Registry
Step 1: Download and Install the Microsoft Edge Policy Templates
1. Download the latest release MicrosoftEdgePolicyTemplates.cab from Microsoft's website. Scroll down to the "Looking for an older version of Edge?" area, select the latest stable version/build and platform your organization uses and click on "Get policy files" to download it
2. Open MicrosoftEdgePolicyTemplates.cab with a tool like 7zip to extract the file MicrosoftEdgePolicyTemplates.zip
3. Unzip MicrosoftEdgePolicyTemplates.zip
4. Copy the file \MicrosoftEdgePolicyTemplates\windows\admx\msedge.admx to C:\Windows\PolicyDefinitions\msedge.admx
5. Copy the file \MicrosoftEdgePolicyTemplates\windows\admx\en-US\msedge.adml to C:\Windows\PolicyDefinitions\en-US\msedge.adml
6. Once this is completed, search for Group in your search bar, and click the 'Edit Group Policy - Control Panel' result

7. Click the Administrative Templates folder under the Computer Configuration Header
8. If done properly there should be one (or more) Microsoft Edge folders present
Step 2: Configure Microsoft Edge in Group Policy Editor
1. In the Group Policy Editor we opened in the previous step click the folder named Microsoft Edge
2. Double Click on the Extensions folder within the Microsoft Edge folder
There are two ways to enable automatic installation of Nomad in Microsoft Edge:
- Using the "ExtensionInstallForcelist" option labeled in the Group Policy Editor as: "Control which extensions are installed silently"
- Using the "ExtensionSettings" option labeled in the Group Policy Editor as: "Configure extension management settings"
Using ExtensionSettings to enable Nomad to automatically install to Microsoft Edge (In Group Policy this is the option labeled "Configure extension management settings"):
1. Right-click and Edit the “Extension management settings”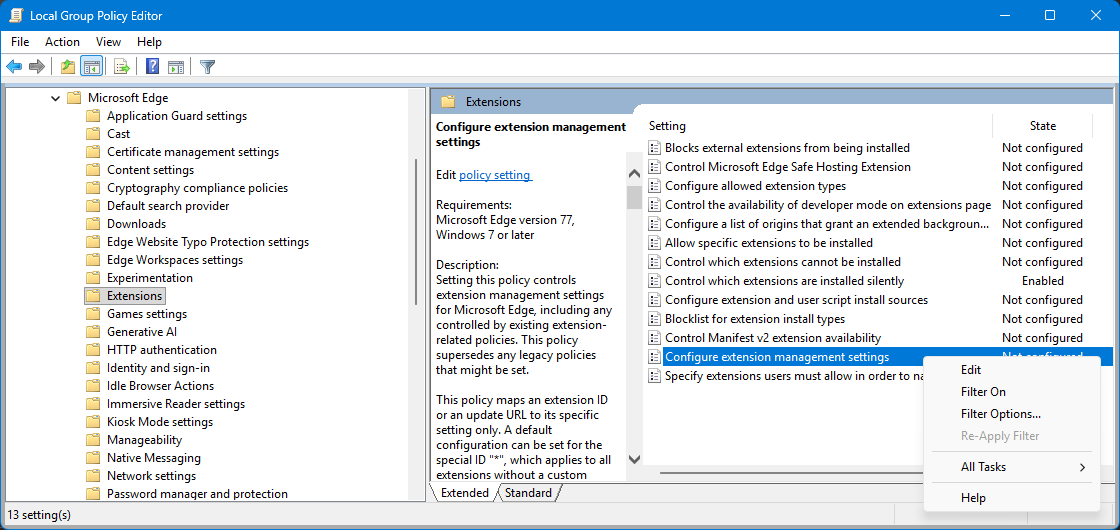
2. Tick the Enabled button, and then in the empty box paste the following JSON code line.
{"aegommgkkknipcpebmcbepdapjdojiji":{"installation_mode":"force_installed","update_url":"https://edge.microsoft.com/extensionwebstorebase/v1/crx"}}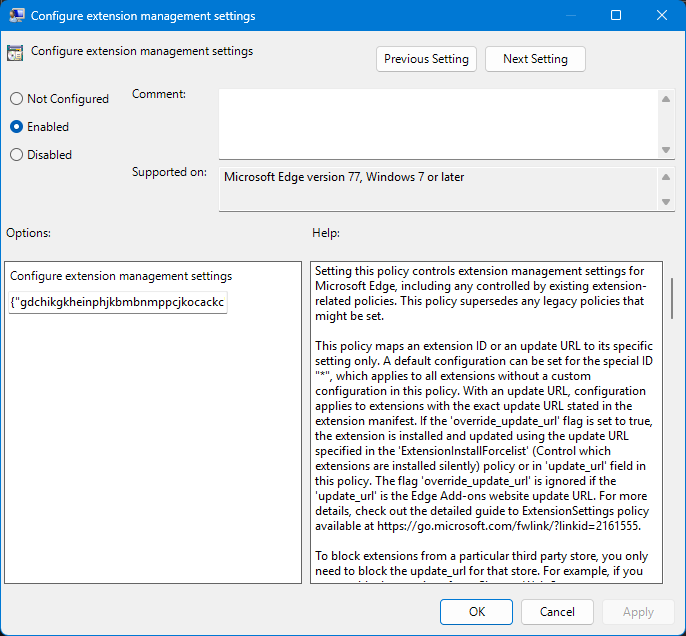
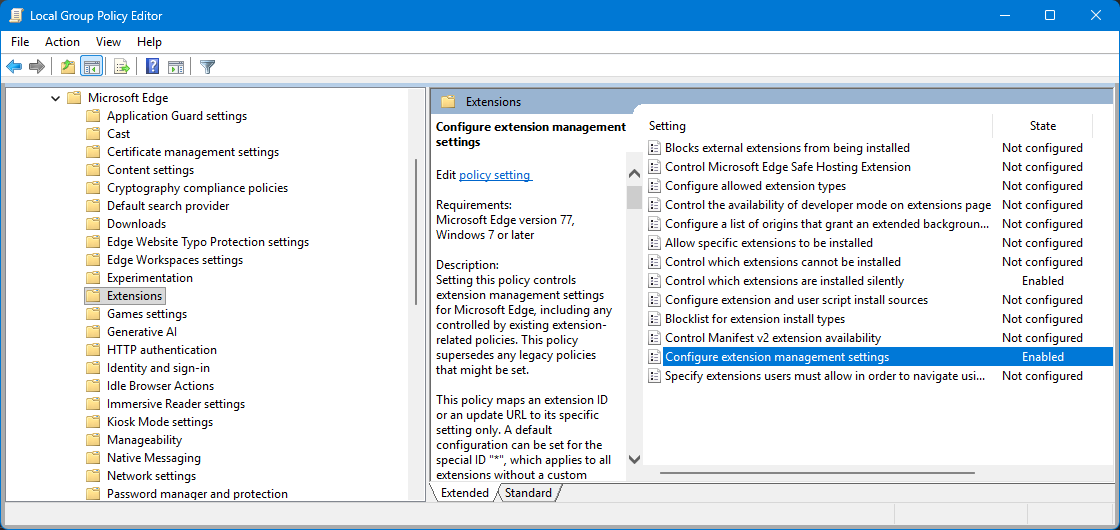
3. Click "Apply" and then "Ok"
1. Right click on 'Control Which Extensions Can Be Installed Silently' and choose 'Edit'

3. Click the 'Show' button within the Options box (marked by a red 2 below)

4. Add the following Extension ID to install Nomad, and click the OK button on the 'Show Contents' box:
aegommgkkknipcpebmcbepdapjdojiji;https://edge.microsoft.com/extensionwebstorebase/v1/crx

5. Click the 'Apply' button on the 'Control Which Extensions are Installed Silently' window, followed by the 'OK' button to close the window
Use this section for ExtensionSettings:
1. Right-click and Edit the “Extension management settings”
2. Tick the Enabled button, and then in the empty box paste the following JSON code line.
{"aegommgkkknipcpebmcbepdapjdojiji":{"installation_mode":"force_installed","update_url":"https://edge.microsoft.com/extensionwebstorebase/v1/crx"}}3. Click "Apply" and then "Ok"
Step 3: Setup Your LibraryID in the System Registry
1. Using the Registry Editor (regedit.msc) or another method, create the following registry key:
[HKEY_LOCAL_MACHINE\SOFTWARE\Policies\Microsoft\Edge\3rdparty\extensions\aegommgkkknipcpebmcbepdapjdojiji\policy]
The result should resemble the following:

2. Next, create a new ‘String Value’ called ‘libraryId’. This can be done using the following command line:
REG ADD HKLM\SOFTWARE\Policies\Microsoft\Edge\3rdparty\extensions\aegommgkkknipcpebmcbepdapjdojiji\policy /v libraryId /t REG_SZ /d <LIBRARY ID HERE> /f
However, you can also elect to do this manually, via the Group Policy Management Console, Regedit, and so on. Whatever you’re most comfortable working with!
**IMPORTANT!!** - Please note that ‘libraryId’ has a capital ‘I’ in ID, and that this is case sensitive!
The result should look like the following:

Please be sure to replace the sample instructions "ENTER YOUR LIBRARY ID (e.g. 1234)" with your actual Third Iron Library ID. Note that this should be a 2-4 digit number. If you are not sure of your Library ID please contact support@thirdiron.com to ask for it.
How to locate your Third Iron Library ID - more details
As a final verification step you can enter the address edge://policy in Microsoft Edge to view the configured policies. If you've enabled and set "Control which extensions are installed silently" then your Edge policy settings should show this policy listed under ExtensionInstallForcelist:

Congratulations! LibKey Nomad is now managed and configured for Microsoft Edge using Windows Group Policy!
Edge configured with LibKey Nomad using Windows Group Policy Manger:
